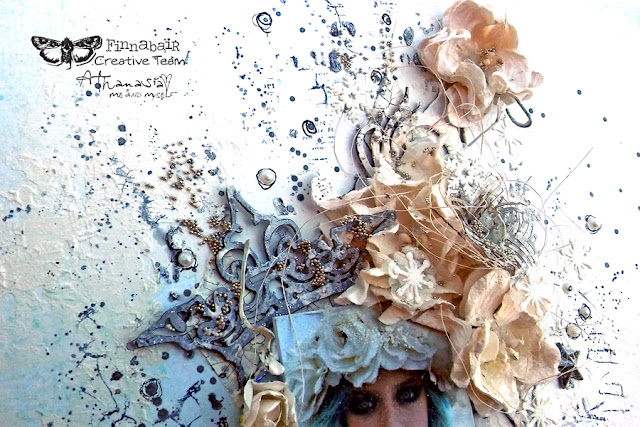
Showing posts with label 13arts. Show all posts

May 19, 2018

mini art journal | You Tube Hop

Hello dear friends and welcome back to my blog!!!

It has been a really long time since my last post,
but today I'm back with a new mini art journal page, with a VIDEO tutorial :)


I was invited to participate in a YOU TUBE Art Journaling HOP
with some of the most amazing and talented ladies.
What a honor, woo hoo!

Visit my channel to find out on how to participate in the fun and win amazing prizes by our sponsors!
Just make sure to leave a comment and subscribe ;)
Here is my video...


>>> supplies list <<<

- Gel Press printing plate - ColourArte Vivid acrylic paint: Jasmine, African Jade, Silver - ColourArte Primary Elements: Go Navy, Fresh Oregano, Sunflower, Wintermist Grey - ColourArte H2Os: Meridian Blue, Tahitian, african Jade, Siam White - Donna Downey stencil 'la rose' - Prima Art Basics Modeling Paste - Prima Art Basics Heavy Gesso White - Prima 3D Gloss Gel - Prima clear stamps by Finnabair - Archival Ink Black - 7 Dots Studio Element Stickers 'Verano Azul' - 13 Arts clear glass powder - thread - black permanent pen

... 


>>> Blog Hop Sponsors <<<
- Joggles.com - 7 Dots Studio - 49 and market - The Crafters Workshop - Snip-Art - UmWowStudio - Viva Las Vegas Stamps


Thank you for visiting!
Have a lovely crafty day!

 Athanasia 

August 19, 2016

Summer snow

Hello dear friends!
Today I'm hosting the Finnabair blog with a Summer/Wintery layout.


 I'm not happy that Summer is coming soon in the end and I'm not champ at the bit for Winter.
The fact is that I love both Summer and snow and I'm happy that I managed to put them together.
Despite the fact that they are two completely different things and they never exist at the same time , I wanted to incorporate them together in one composition and give them the chance to be together, even for once :)

On my page you can find seashells and summer colors, snowflakes and wintery feeling...
All these are well combined together with beautiful mechanicals, Micro Beads and Glitter, flowers and chipboard pieces.

The Mechanical stars made the perfect link between summer and winter as they falling down from the snowing sky into the sea to become one with the starfish.  


The White Crackle Paste, as well the White Gesso constituted a beautiful base for the summer and winter colors and made all the different elements of the composition come together and incorporate in one piece.

This beautiful mechanical flower is one of my favorite elements of the project because it looks like a snowflake and a flower at the same time and so lovely  matches my theme. 
I glued inside with the 3D Gloss Gel a beautiful ring which was in the Mechanical set and inside a screw brand. 
I love how the Mechanical pieces complement each other and make new unique pieces. The combinations are endless! 

When I painted everything white for the Winter scene, I painted with different colors the Summer one. I used soft tones of Primary Elements in teal, brown and grey and the Silver Spoon Acrylic Paint to make splashes all over the page.

In the video I made especially for you, you can watch how I put together this page.
I hope you like it and get some Summery/Wintery inspiration.


*** Scroll down here to see a supplies list

*Chipboard pieces by 2 Crafty
*Colors by ColourArte
*Paper 'Summer snow' by 13arts

>>>

Thank you for visiting,
have a lovely crafty day!

xxx
Athanasia

February 14, 2016

You+Me=Big Love

Happy Valentine's Day everyone! 
Today I'm hosting the 2Crafty Chipboard blog, so I wanted to make something with a LOVE mood :)
This layout represents a big love, indestructible in time.


First thing I do to start building a layout is to place the photo and the basic elements and these are the chipboard pieces.
Here is how my page looked before adding more embellishments and painting...

 I used three Polaroid Assortment Frames which I absolutely adore! They look so beautiful in the clusters and they come in different sizes, how cool is that?. 
All chipboard pieces where inspiration of this layout, even the small Asst Arrow. I love how it stands there and points to the main composition.

To paint all the chipboard pieces I used silks and H2Os Twinkling watercolors.
It is really a quick process to paint all these before gluing them down - the chipboard sucks the color and they dry in no time!


For the cluster in the picture bellow I used four different chipboard pieces: two Polaroid Assortment Frames, the word Precious and a small Hedgehog (how cute is that??? ) 
I love how they look one above the other!


2Crafty Chipboards Used:

Polaroid Assortment Frames

Flower Medallions

Ribbon Ties

Hedgehogs

Precious

  Loopy FontAsst Arrows


 Precious - Loopy Font (unit of 3)   Flower Medallions (unit of 3)    Hedgehogs (unit of 3)

 Ribbon Ties (unit of 3)   Polaroid Assortment Frames (unit of 3) Asst Arrows  (units of 3)

...

With this project I'm entering the challenge at ScrapMemory with this beautiful sketch


....and the 'Hearts' challenge at Art Sandbox

...


Thank you for visiting
Have a lovely crafty day! 

xxx
Athanasia 


October 4, 2015

Spread the hope - for Breast Cancer Awareness

Hello dear friends!
October is the month of Breast Cancer Awareness, so I wanted to make a project for this sensitive and so important issue. Being healthy is the most significant value in our lives, as well being strong, having courage and being positive whenever difficulties enter our lives. 

So, I created a layout for ColouArte with a step by step Video. 
I hope you will enjoy watching the process :)


ColourArte Products for this project:

Other Supplies:
  • 13arts paper
  • flowers
  • Prima stamps
  • thread
  • 2Crafty Chipboards
  • Heidy Swapp alpha stickers
  • pink ribbon 
  • shiny flakes and glitter
  • heart shape paper punch


>>>
With this project I'm entering the Creative Club Simple Pleasures challenge with this beautiful sketch.

>>>

 I hope you got some inspiration today,
I wish you all a happy life full of health!
If you are interested to do something nice about this important issue, you can send donations to National Breast Cancer Foundation - they provide health Services to women in need!!!
Stay positive, think pink <3


June 25, 2015

secrets

Hello everyone!
 Today I'm sharing a layout I created for Lindy's Stamp Gang and it's about secrets! 
All of us have secrets, even small ones, and maybe some mystery in our life! I think that some times that can be fascinating as well miraculous:) 
So I wanted to give some sparkle on my page and why not, a little bit of magic!


I used the June 2015 Limited Edition Spray Set Midnight Teal, Orbit Olive Gold and Spring Leaf Chartreuse embossing powders and a lot of glitter. You can see how I played with all these goodies on my video :)


>>>

With this project I'm entering the following challenges:


Skrapogoliki Shine challenge - I used a lot of glitter on this page!

>>>

I hope you got some magical sparkle from today's project!
Have a lovely day!


January 25, 2015

create feelings

Hello there!
  Today I want to show you a layout made with the Lindy's Stamp Gang  January 2015 Limited Edition Spray Set! It is about dreamworld and what happens there, so I wanted to give to my page a lot of sparkle, flow and a bit of fascination!


Now, let me tell you some basic steps I follow to create a page. As usual, I choose a photo from the internet - this is always the first step. According the theme and the colors of the photo I match the paper sheet, the embellishments and of course the color pallet of the media (here I used mists and gesso). Then I start with the background: for this page I applied some gesso and after that I had a lot of fun with the mists. I prefer to spray not directly on the paper, rather on a small clear plastic surface and do something like a stamping work. This creates a watercolor effect, which I absolutely love doing on my projects...


...after that, I like to stamp with several stamps, in order to create an interesting mixed media background. I also love doing a lot of splashes at the end of the process.


I also had to alter the chipboard frame and the flowers in order to match the color pallet of my page, so I painted them with the purple mists and then glued some purple sparkly dust on them...


>>>
For this page I followed the sketch by 'We Create Together'...

...and got inspired by the 13arts 'Space in my head' challenge
>>>

That's all for today, I hope you got some inspiration - Don't forget our January Color Challenge which is still running. Have a wonderful week!