Showing posts with label winter. Show all posts

December 2, 2018

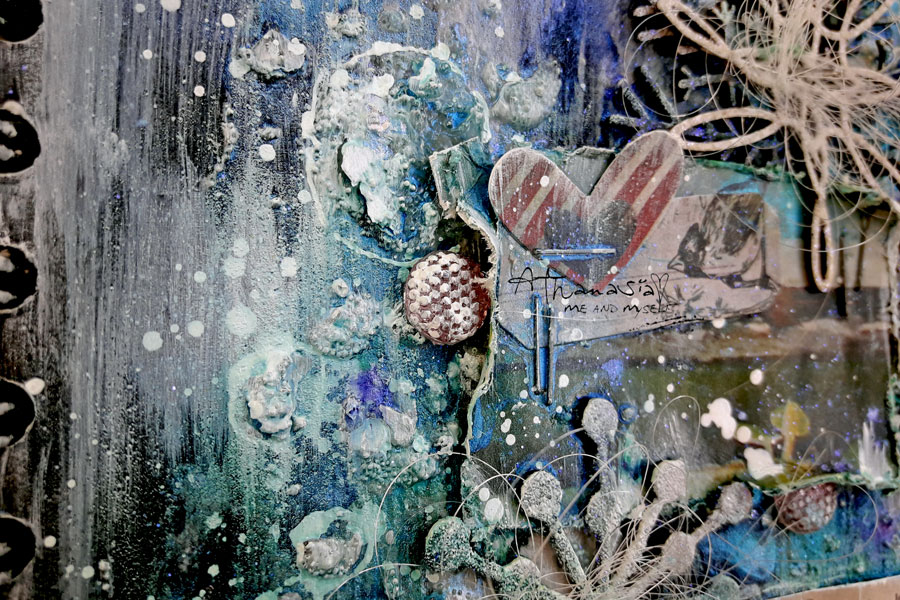
My black Journal / new page, new video

Hello dear friends!!!
I'm back with another page in my black journal.


I created this page for a Mixed Media You Tube Hop inspired by this moodboard


Here is my video


✪ Hop Rules ✪ - Like each video - Leave a comment on each video - Subscribe to all channels that join this hop to have a chance on winning a prize. The giveaway will be open to join until December 15th Winners will be announced on Monday December 17th in the first comment on all video’s and in reply to the winners comments So be sure to check back on the video’s The winners have 1 week to claim their prize
✪ Hop Sponsors ✪ A Flair for Buttons - 2 sets of flairs of winners choice Fabscraps - 2 times 5 stencils Wow Embossing Powders one £20 or $20 gift card. Visible Image a £20 gift certificate Dusty Attic Keren Tamir-- Mixed Media Prize Pack


Thank you for visiting!
Have a lovely crafty day,
have fun with the HOP
and good luck!

xxx
Athanasia

August 19, 2016

Summer snow

Hello dear friends!
Today I'm hosting the Finnabair blog with a Summer/Wintery layout.


 I'm not happy that Summer is coming soon in the end and I'm not champ at the bit for Winter.
The fact is that I love both Summer and snow and I'm happy that I managed to put them together.
Despite the fact that they are two completely different things and they never exist at the same time , I wanted to incorporate them together in one composition and give them the chance to be together, even for once :)

On my page you can find seashells and summer colors, snowflakes and wintery feeling...
All these are well combined together with beautiful mechanicals, Micro Beads and Glitter, flowers and chipboard pieces.

The Mechanical stars made the perfect link between summer and winter as they falling down from the snowing sky into the sea to become one with the starfish.  


The White Crackle Paste, as well the White Gesso constituted a beautiful base for the summer and winter colors and made all the different elements of the composition come together and incorporate in one piece.

This beautiful mechanical flower is one of my favorite elements of the project because it looks like a snowflake and a flower at the same time and so lovely  matches my theme. 
I glued inside with the 3D Gloss Gel a beautiful ring which was in the Mechanical set and inside a screw brand. 
I love how the Mechanical pieces complement each other and make new unique pieces. The combinations are endless! 

When I painted everything white for the Winter scene, I painted with different colors the Summer one. I used soft tones of Primary Elements in teal, brown and grey and the Silver Spoon Acrylic Paint to make splashes all over the page.

In the video I made especially for you, you can watch how I put together this page.
I hope you like it and get some Summery/Wintery inspiration.


*** Scroll down here to see a supplies list

*Chipboard pieces by 2 Crafty
*Colors by ColourArte
*Paper 'Summer snow' by 13arts

>>>

Thank you for visiting,
have a lovely crafty day!

xxx
Athanasia

December 12, 2015

Frozen in Time

Hello friends!
Winter is here in Greece, so as cold wind, cozy mood and warm sweaters.
I think my layout for 2Crafty Chipboard shows this wintery feeling...

This photo is by Finnabair's Ephemera and I really love how old and timeworn it looks.
I used the Tiny Vivian's frame , the three Spiral Snowflakes of the set and a Pen Nib. I really love how they look on my composition.


In order to alter the spiral snowflakes I used White Gesso and white Glitter.
First I applied the gesso with a sponge and then I spread the glitter.
The gesso works just like glue, so the snowflakes where ready to use in no time!
(You can find a mini tutorial on how I altered the snowflakes at the end of this post)


I wanted the Tiny Vivian's frame to be black, so I painted it with black silk by ColourArte with a paintbrush.

For the pen nib (below) I used 'Vintage Photo' distress ink with the applicator and a little bit of white gesso in some spots. I stacked it on the page with staplers.


2Crafty chipboards on this project:

Spiral Snowflakes
Frames Tiny Vivian's
Pen Nibs

Spiral Snowflakes (unit of 3)   Frames Tiny Vivian's (unit of 3) Pen Nibs (units of 3)


Christmas tree decorations

With only a few days left until Christmas and I decided to make some more decorations for my Christmas tree.

Here is how I made them. Very easy and quick!
You will only need White Gesso (you can also use any kind of glue like Gel Medium or craft glue), glitter and of course 2Crafty Chipboard :)

First you have to cover the chipboard with gesso. 

Before it drys, spread a generous amount of glitter.
Gesso will work as a glue.

Use the tweezers to remove the chipboard from the glitter and give it a good shake to remove the excess. Repeat the process if you have left some spots without glitter.

Tie some thread and your decorations are ready to hang on the tree.

2Crafty chipboards on this project:

Blitzen
Spiral Snowflakes
Wire Stars


Blitzen (unit of 3) Spiral Snowflakes (unit of 3)    Wire Stars (unit of 3)


I hope you got some ideas of today's projects!
Have a lovely crafty day!

Athanasia

December 7, 2015

Winter Fairy Tale

Hello dear friends!
Today I'm hosting the Finnabair blog with a winter fairy project.


I had this small 4x4 inch frame for a long time and finally decided to do something with it. It is actually a shadow frame, made out of paper mache, so I wanted something to fit inside. 
As I was looking through my stash, I found this little fairy, which I made using a mold and plaster many years ago and what a surprise - it was the perfect size for my shadow frame! 
So, the idea was to create a wintery fairy scene inside the shadow frame.

I kept looking through my stash and I found some beautiful Mechanical leaves and small flowers that looked just perfect on the little frame. I used a couple of brads to join them together and then a pliers to blend them in order to fit them onto the frame. 
Mechanicals are flexible and that makes it very easy to change their shape. For the tittle I used a tiny word 'Treasure' by 2Crafty Chipboard. 

Next step was to paint them all with Black Gesso. I chose Black Gesso instead of White because later on I used Gold Opal Magic Mica Powder and I really love the effect on black surface.
When it was dry I made custom paints with Mica Powders (Gold Opal Magic, Rust, Frozen Lake, Deep Water, Bottle Green) and Soft Matte Gel and painted the frame and the fairy.
First I used all the colors, but at the end I painted everything one more time with Rust and Opal Gold because I wanted them to be the main colors of the composition.

I also used White Crackle Paste on the frame. I let it dry and again painted it with the custom Rust paint. After they were all dry, I glued some glossy grass, a flower and the fairy inside the frame and spayed white Lindy's Stamp Gang spray on and around the fairy. I also painted with Black Gesso the edges of the frame in order to make more dark shading around the composition.

Last step was to spread some Art Ingredients here and there, mostly around the fairy and in the center of the flower. I  played with Pearl and Sterling Glass Glitter as well Silver Micro Beads and White Art Sugar. I love combining different types of Art Ingredients and creating varied effects in every project. I used 3D Gloss Gel as a glue. It dries clear and gives a beautiful shine.

***you can find full list of products of this project here

...

I hope you got inspired by my wintery fairy scene!
Have a lovely crafty day!

xxx
Athanasia


February 3, 2015

Bloom in the winter

Hello! Today I'm hosting the Lindy's Stamp Gang blog to share a layout inspired by the February’s Color Challenge. The colors are amazing, I just love this mix of dark and bright colors! This time I decided to make a different color combination than I did with the first project and use the dark green 'Frolic in the Forest Black' with the dark pink 'Bougainvillea Fuchsia'!


I tried to keep it simple and use only a few media, in order to create a contrast between the bright photo and the background. I applied gesso with a flourish mask, and after heating it I sprayed water. Then I let the fun begin: I did a lot of splashing with the Frolic in the Forest Black in order to create this beautiful background - I love the way it looks! 


When I was satisfied with the result, I glued the photo and all the embellishments. Then I used the Bougainvillea Fuchsia to make a few drops around the spots with the flowers and title. 


I could not finish my project without using embossing powders. As I didn't use any chipboard pieces, I decided to spread a little bit of Razzleberry Plum and Obviously Black  here and there on the page, the embellishments and the tittle.


Well, that was all! With only a few steps you can also create a page like this. Pretty easy, don't you think?
I hope I'll see your projects for our  February Color Challenge!

>>>

For my layout I used this amazing sketch from Fairy's Challenge:

>>>

Thank you for stopping by today, have a lovely Sunday!


December 15, 2014

Happy Days


Hello everyone!
This is my page for our challenge at Scrap Africa:
Create a project - layout, card or altered project that depicts what Christmas Time/December Holidays/Hannukah is like in your home, town or country...

Here are some details...


>>>

With this page I'm entering to the following challenges:

As you can see my page is made in rustic style: I tried to avoid bright colors and contrasts and use only natural and muted colors (shades of wood).  So, I chose a beautiful paper with wood pattern, I painted the chipboard pieces with 'vintage photo' distress stain and used a beige shade acrylic paint, crackle paint and white gesso with some branches stamps to create the background. I also used lace, twine, my grandma's vintage buttons, some flowers, a page from an old book and a cinnamon stick which I decorated with two small bells and a tiny pine cone.
The title and the journaling I wrote is: "Happy Days: During Christmas period I really enjoy making small gifts for my family and friends. Baking cookies and pretzels is my favorite thing to do".


I used the sketch from ScrapKopilka...


That's all for today,
have a beautiful crafty week everybody!